The lower storage areas of a class A motor home are called the basement. It provides storage for anything that needs outside access, or won’t fit inside. It also provides access for emptying the waste tanks. We have craft supplies, tools, and extra kitchen items in ours.
Our motor home is twenty-five years old and has seen some bumps and bruises along the way. Last summer I stripped the striping off and sanded the fiberglass, finishing with several coats of wax. After this, the top of the sides looked great and the basement cabinets looked terrible!
So…
I decided to sand and repaint the “basement.” The doors are metal so I read up on re-painting cars so that I might have at least a smattering of knowledge before going ahead with this crazy project. I have seen many paint jobs of campers and schoolies and while they may have been an improvement, or shown the character of the owners, I wanted ours to look as close to professional as I could.
I broke the project into two phases, one for each side of the RV. I tackled the back side first, figuring that if I goofed up it wouldn’t be seen as much. First – off came all of the hardware – latches & locks. Then I proceeded to sand – 220 grit – 320 grit – 600 grit – and 800 grit. I thought about trying to remove the creases in the doors but I knew I wasn’t skilled enough for that – so they stayed.
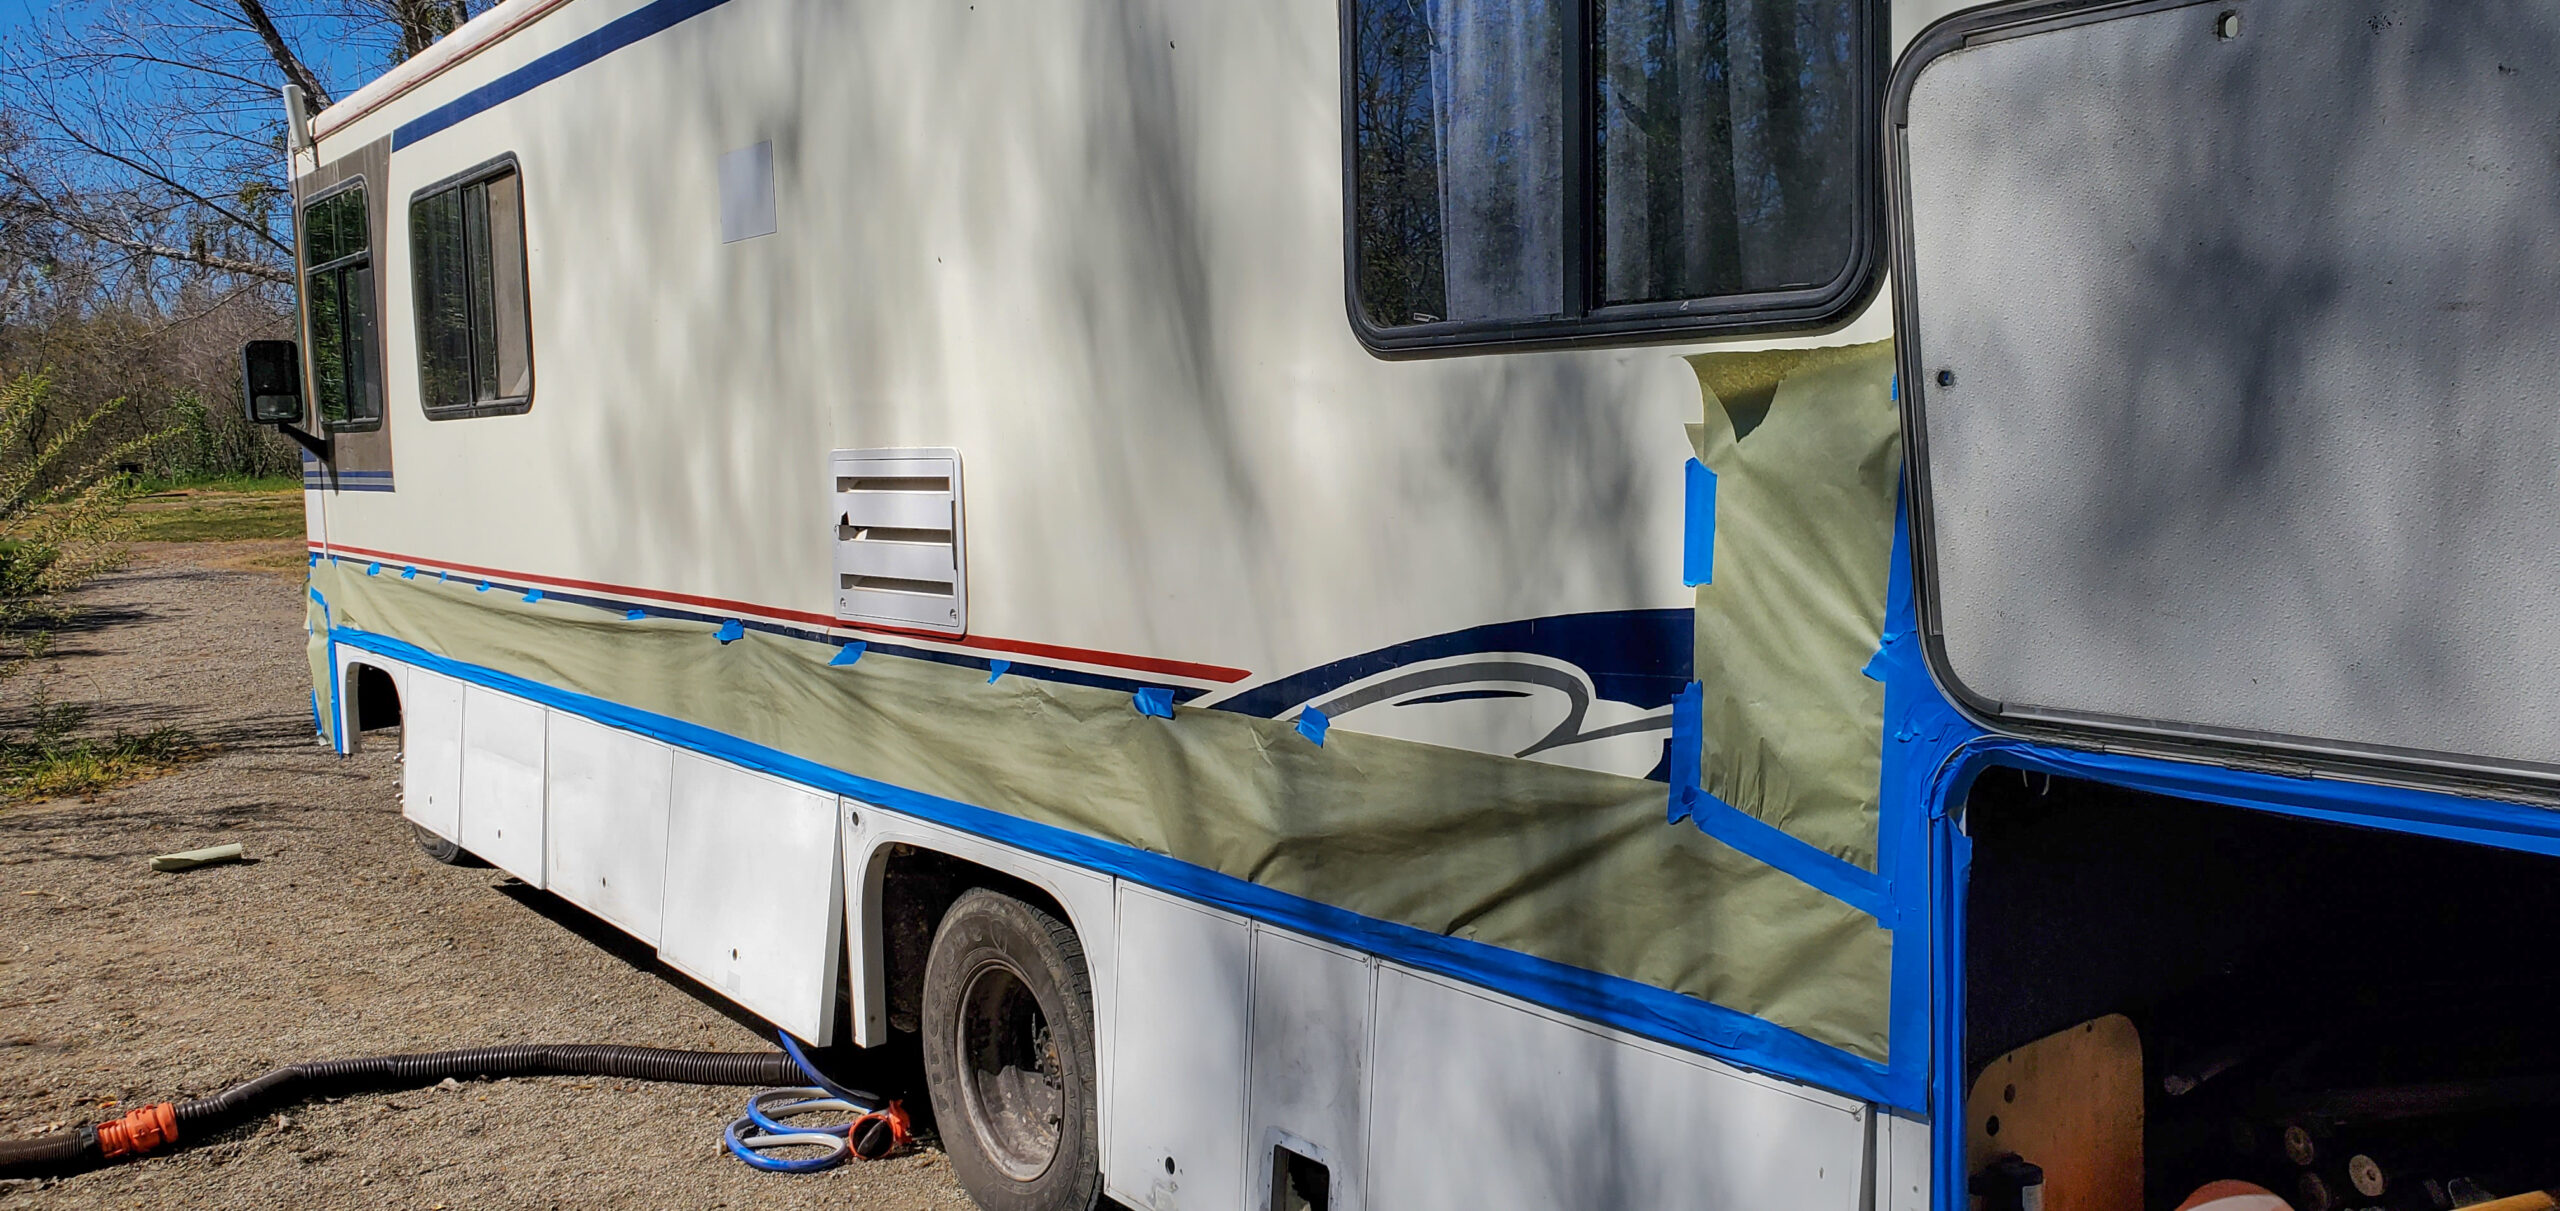
Then came the masking. I had read that masking the whole side was the right way to proceed but I knew better! I bought 12″ paper and taped it in place. The result was overspray on the fiberglass – hard to remove!
Primer went on first. I have never used self etching primer but it works great! I put on three very light coats until I had a solid coat. I let each coat dry about 15 minutes. I lightly sanded with 1000 grit paper just to knock down dust and small bumps.

After the primer has been put on.

You can see the crease I didn’t fix

Here is what I used for primer. I chose it because the reading I did said it was the best. I bought it locally at an ACE hardware.
Then came the color coat. I sprayed four light coats on most of the basement to get the coverage I wanted. A few little spots needed another. I re-sprayed when the coat was just a little tacky, about 15 minutes. Then I let the paint cure for a day.

Here is the color paint that I used. It is a lacquer, not an enamel. It goes on in light coats with a fast, straight motion. Otherwise it pools and you start over as it reacts with the primer and if you wipe, the whole thing comes off.
1000 grit light sanding after it cures and tack cloth again.
The next phase was an overcoat. This is what made the job just burst with color and sheen! It is a two part can. The overcoat and an resin that gets mixed in. There is a button that goes on the bottom and smashes the bladder to release the resin. The can lasts about 48 hours after starting.
I applied six light coats of this, again about 15 minutes between.
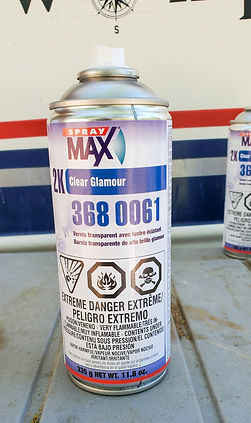
Here is the overcoat that I used. No one locally even knew what I was talking about so I bought it on Amazon. It was expensive ($18/can) and I bought too much and can’t return it. Oh well – the results are worth it.
Then I put the hardware back on and took pictures!
The surface is very hard and I am pleased with the results. It isn’t perfect but it is much better than it was. For the front side of the camper I put up two rows of the paper masking and there was still some over spray. Apparently I should have done what was suggested and masked the whole side.

After the color is applied

Final results before any wax was is applied.

The color even matches the striping!